How to Cut and Form Brass Rod for Precision Machining Projects
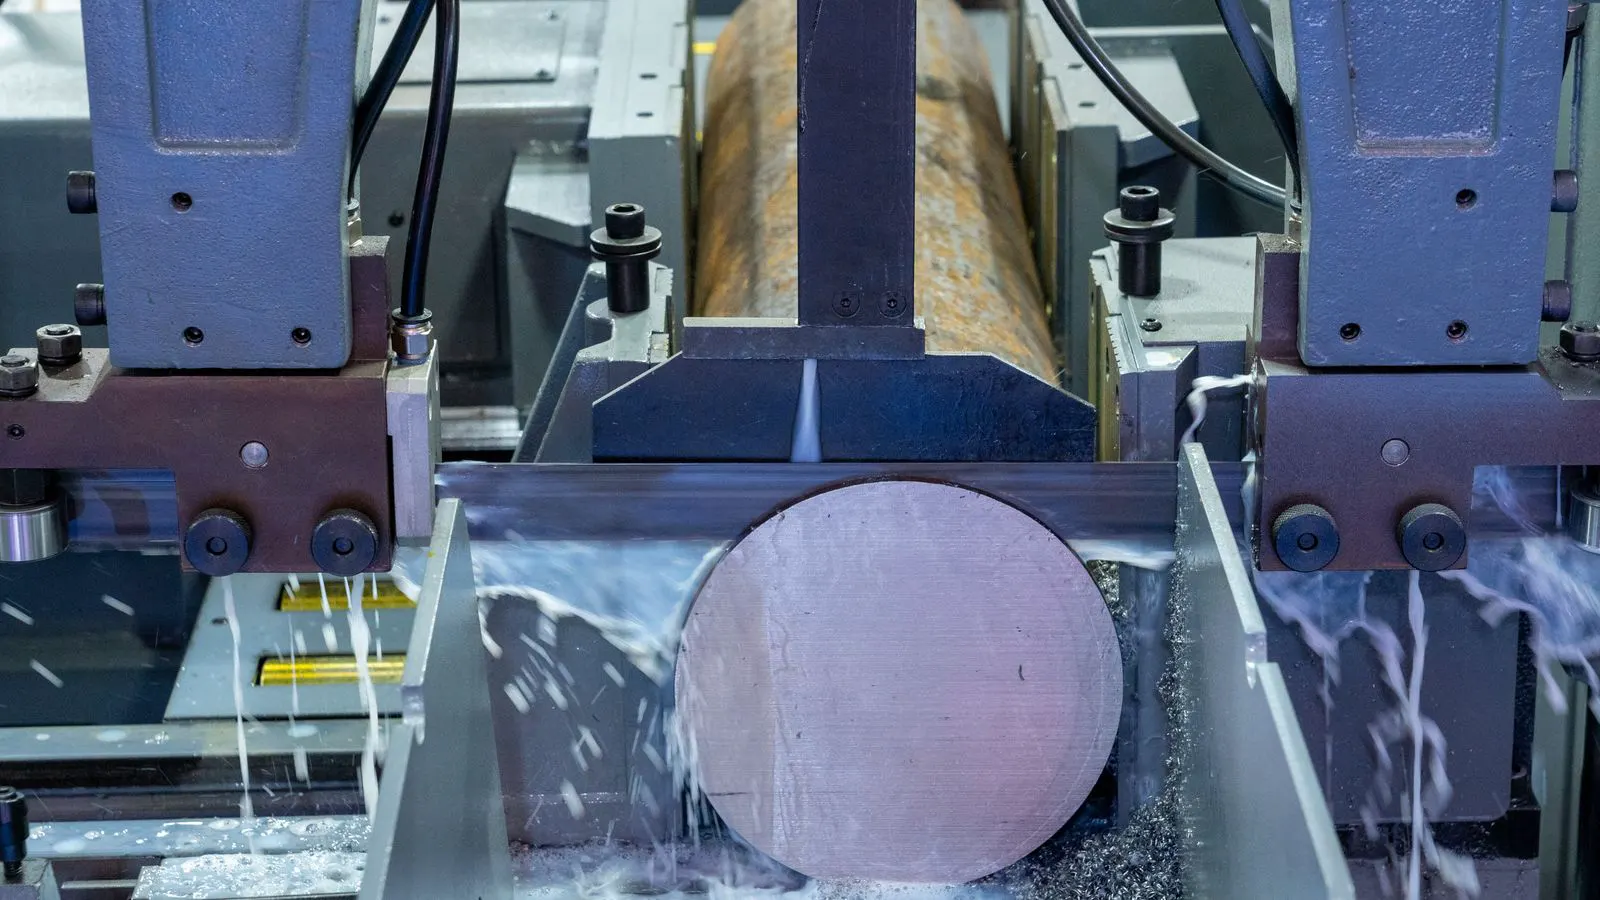
Brass rod cutting requires sharp tools, proper support, and controlled feed rates. Learn the specific techniques for sawing, filing, and bending brass rod to maintain dimensional accuracy and surface finish for machining work.
- Use a fine-toothed saw or cutting wheel to prevent burrs that interfere with machining.
- Support the rod fully to avoid vibration, which causes uneven cuts and tool damage.
- Let the tool do the work. Forcing the blade or applying excessive pressure ruins the cut.
- Anneal the rod before bending to prevent cracking during forming operations.
Why Brass Rod Responds Differently to Cutting Tools
Brass is a soft, free-machining alloy, but it behaves differently from steel or aluminum when you cut it. It has a high tendency to work harden. If you drag a dull blade across the surface, you are not cutting metal; you are smearing it. This creates a built-up edge on the tool and a rough surface finish. For precision machining projects, the quality of the cut directly affects the final part. A rough cut adds material that must be removed later by a lathe or mill. That removes time and tool life.
The material condition matters just as much as the tool. A rod that is cold and stiff requires more force to bend. A rod that has been heated slightly becomes ductile and easier to shape. Choosing the right method for the job prevents distortion and ensures the finished component fits its intended function.
Preparation and Safety Setup
Before you make a cut, set up the work area properly. Brass chips are small and sharp. They can fly off the workpiece at high speed. Safety glasses are non-negotiable. Loose clothing and dangling jewelry should be removed. A well-lit area helps you see the cut line and the chip formation.
Clamp the rod securely. Use a vice with soft jaws or padded blocks to protect the surface. The rod must not move during cutting. If it shifts, you get a chipped end, a broken tool, or a dangerous situation. Mark your cut line with a scribe or a fine marker. A sharp, visible line acts as a reference for the tool path.
Tool Selection for Different Cut Types
The tool you choose depends on the rod diameter and the required finish. For small diameters, a hacksaw with a fine-toothed blade works well. The teeth remove material slowly but leave a smooth surface. For larger rods or faster production, a cutoff wheel on an angle grinder or a dedicated cutoff saw is more efficient.
Hand tools offer better control for one-off pieces. Power tools offer speed. If you need a very precise length for a lathe setup, a manual saw with a guide fence often outperforms a freehand power cut. The fence ensures the cut is square to the axis. A square cut prevents the rod from walking on the lathe chuck.
Step-by-Step Cutting Procedure
- Secure the Workpiece. Place the rod in the vise or on the saw stand. Ensure it is held firmly at both ends if using a manual saw. Reason: Stability prevents vibration. Vibration causes the blade to wander and creates a jagged cut surface.
- Mark the Cut Line. Use a scribe to score a line around the rod at the desired length. Reason: A physical groove guides the saw teeth. It prevents the blade from skipping off the surface.
- Select the Correct Blade. For a hacksaw, use a 24 to 32 TPI blade for diameters under 25mm. Use a 18 to 24 TPI blade for larger diameters. Reason: The tooth count must match the material thickness. Too few teeth skip. Too many teeth bind.
- Start the Cut Slowly. Place the saw teeth in the scribed groove. Apply light pressure and move the saw back and forth gently for the first few inches. Reason: This allows the teeth to seat into the material and creates a straight starting point.
- Maintain a Steady Rhythm. Use the full length of the blade. Keep the pressure consistent. Do not push harder than necessary. Reason: Excessive force bends the blade. It also increases heat at the cut line, which can change the hardness of the surrounding brass.
- Support the Offcut. As the cut nears completion, the small section will break off. Support it gently to prevent it from springing back and hitting your hand or the tool. Reason: This prevents injury and protects the cut surface from chipping.
Forming and Bending Brass Rod
Cutting is only half the process. Many precision parts require the rod to be bent, curved, or threaded. Brass forms well, but it remembers its shape. If you bend it too much, it may spring back. If you heat it incorrectly, it may discolor or weaken.
For simple 90-degree bends, a hand brake or a pipe bender is ideal. For complex curves, you need a mandrel. The mandrel defines the inner diameter of the curve. Wrap the rod around the mandrel and secure it with a clamp. Heat the rod with a low-temperature torch or a heat gun until it is warm to the touch, not glowing. Reason: Heat increases ductility. It allows the metal to flow rather than fracture. However, too much heat oxidizes the surface. You will need to clean the oxide scale before machining.
Common Mistakes to Avoid
Using a Dull Blade. This is the most frequent error. A dull blade pushes material aside instead of slicing through it. The result is a rough, burry surface that requires extensive filing. Replace the blade or sharpen it as needed.
Ignoring Support. If the rod is not fully supported, it will flex. This causes the cut to be uneven. One side of the cut will be deeper than the other. Always use a fence or a guide for manual cuts.
Overheating During Forming. Brass does not need high heat to bend. Excessive heat causes oxidation and can soften the grain structure. This makes the part less strong. Use the minimum heat required to achieve the desired shape.
Verification and Final Checks
After cutting and forming, inspect the part before sending it to the machine. Measure the length with a caliper. Check the squareness of the cut end against a known square block. Look for burrs. A small burr can damage a lathe tool bit. Remove burrs with a fine file or a deburring tool.
Check the surface finish. Run your finger along the cut surface. It should feel smooth. If you feel a ridge or a wave, the cut is not clean. Re-cut or file the area. For precision machining, a clean starting point ensures a consistent finish on the final part.
| Operation | Recommended Tool | Key Consideration |
|---|---|---|
| Small Rod Cutting | Fine hacksaw blade | Use light pressure; full stroke length |
| Large Rod Cutting | Cutoff wheel | Use low speed; wear safety glasses |
| Precise Length | Manual saw with fence | Fence ensures square cut; slow feed |
| Simple Bends | Pipe bender | Check for springback; mark bend line |
| Complex Curves | Mandrel and clamp | Use low heat; protect surface from oxidation |
| Deburring | Fine file or deburrer | Remove all burrs before machining |
Final Thoughts
Successful brass rod work is about control. You control the tool, the support, and the heat. When these variables are managed, the material responds predictably. The cut is clean. The bend is true. The part is ready for the next stage of manufacturing. Take the time to set up the job correctly. The precision you gain in the prep stage will save you hours on the machine.
Frequently asked questions
Can I use a standard steel hacksaw blade on brass rod?
Yes, but a brass-specific or fine-toothed blade is better. Standard blades may skip or clog. A fine-toothed blade removes material more smoothly and leaves a cleaner surface for machining.
How do I prevent the brass rod from springing back after bending?
Use a backing bar or a mandrel to support the entire bend. Apply heat to increase ductility. For critical dimensions, over-bend slightly and then measure. Brass has some springback, but it is usually predictable with practice.
Is annealing necessary before cutting brass rod?
No. Annealing is not needed for cutting. It is needed for bending or forming. Cutting only requires a sharp tool and proper support. Annealing softens the metal for plastic deformation, not for slicing.
What is the best way to remove burrs from a cut brass rod?
Use a fine file, a deburring tool, or a small hand grinder. Work lightly to avoid removing too much material. A clean surface is critical for lathe work to prevent tool damage.
Can I cut brass rod with a Dremel or rotary tool?
Yes, for very small diameters. Use a diamond bit or a fine cutoff wheel. Keep the tool moving to prevent heat buildup. Do not force the tool; let the bit do the work. Wear safety glasses always.