Fixing Copper Wire Insulation Damage: Common Causes and Repair Methods
Copper wire insulation damage often comes from heat, abrasion, chemicals, or mechanical stress. Inspect the cable, identify the cause, and use heat shrink, solder, or replacement to restore safe electrical performance.
- Inspect insulation for cracks, discoloration, and exposed copper before deciding on repair or replacement.
- Match the repair method to the voltage rating, current load, and physical environment of the installation.
- Use heat shrink tubing, solder, or replacement sections depending on the damage type and wire gauge.
- Apply insulation tape as a temporary measure only until a permanent repair is completed.
- Prevent future damage by routing wires away from sharp edges, heat sources, and chemical exposure.
Inspecting Copper Wire Insulation
Start by isolating the circuit and checking the wire visually. Copper wire insulation is usually made from polyvinyl chloride, polyethylene, or cross-linked polyethylene. Look for cracks, cuts, blisters, or areas where the surface has turned brittle. A flexible insulation should bend without cracking. If the coating feels hard or flaky, moisture has likely entered the dielectric layer.
Check the conductor itself. A small scratch on the insulation can expose the bare copper. If the wire carries current, even a thin layer of oxidation on the exposed strand can cause overheating at a connection point. Use a multimeter to check continuity and resistance. A reading that drifts indicates internal damage or a developing short.
Identifying the Root Cause
Most insulation failure traces back to one of a few mechanisms. Thermal cycling is the most common. When a wire runs near a heating element, motor windings, or a lamp, the insulation softens. Repeated heating and cooling creates micro-cracks. These cracks allow air and moisture in. Over time, the polymer degrades and the wire loses its dielectric strength.
Mechanical damage is the second leading cause. Pinching the wire behind a panel, cutting it against a screw, or dragging it across a rough surface creates localized stress. The insulation may not look badly damaged, but the polymer matrix is compromised. Chemical exposure weakens the coating. Solvents, acids, and alkaline cleaners break down the polymer chains. Water ingress accelerates the process, especially in outdoor or damp indoor applications.
Common Symptoms and Repair Methods
The table below lists typical symptoms, their likely causes, and the appropriate repair steps. Use this as a quick diagnostic reference.
| Symptom | Likely cause | What to do |
- | Surface cracking or brittleness | Heat exposure or age | Cut out the damaged section and splice with a heat shrink connector or solder. Replace the section if the wire is older than ten years.
- | Deep cuts or exposed copper | Mechanical abrasion or sharp edges | Use a heat shrink sleeve over the exposed area. If the copper strand is broken, cut the wire and reconnect using a proper splice.
- | Discoloration or bubbling | Chemical exposure or moisture | Clean the area with isopropyl alcohol. If the insulation is degraded, replace the section. Apply a moisture barrier if the environment is damp.
- | Intermittent connection or high resistance | Internal conductor damage or oxidation | Cut out the damaged section. Strip a new length and solder or crimp a new connection. Test continuity before re-energizing.
- | Soft or sticky insulation | Heat and polymer breakdown | Replace the entire section. Do not rely on tape. Choose a wire with a higher temperature rating for the new run.
Repair Methods by Damage Type
For minor surface damage, heat shrink tubing provides the fastest fix. Strip a small section of the wire, clean it with isopropyl alcohol, and slide a heat shrink tube over the conductor. Apply heat with a heat gun or lighter. The tube shrinks and bonds to the copper. This method works best for low voltage cables and small gauges. It is not suitable for high current circuits or areas with extreme temperature swings.
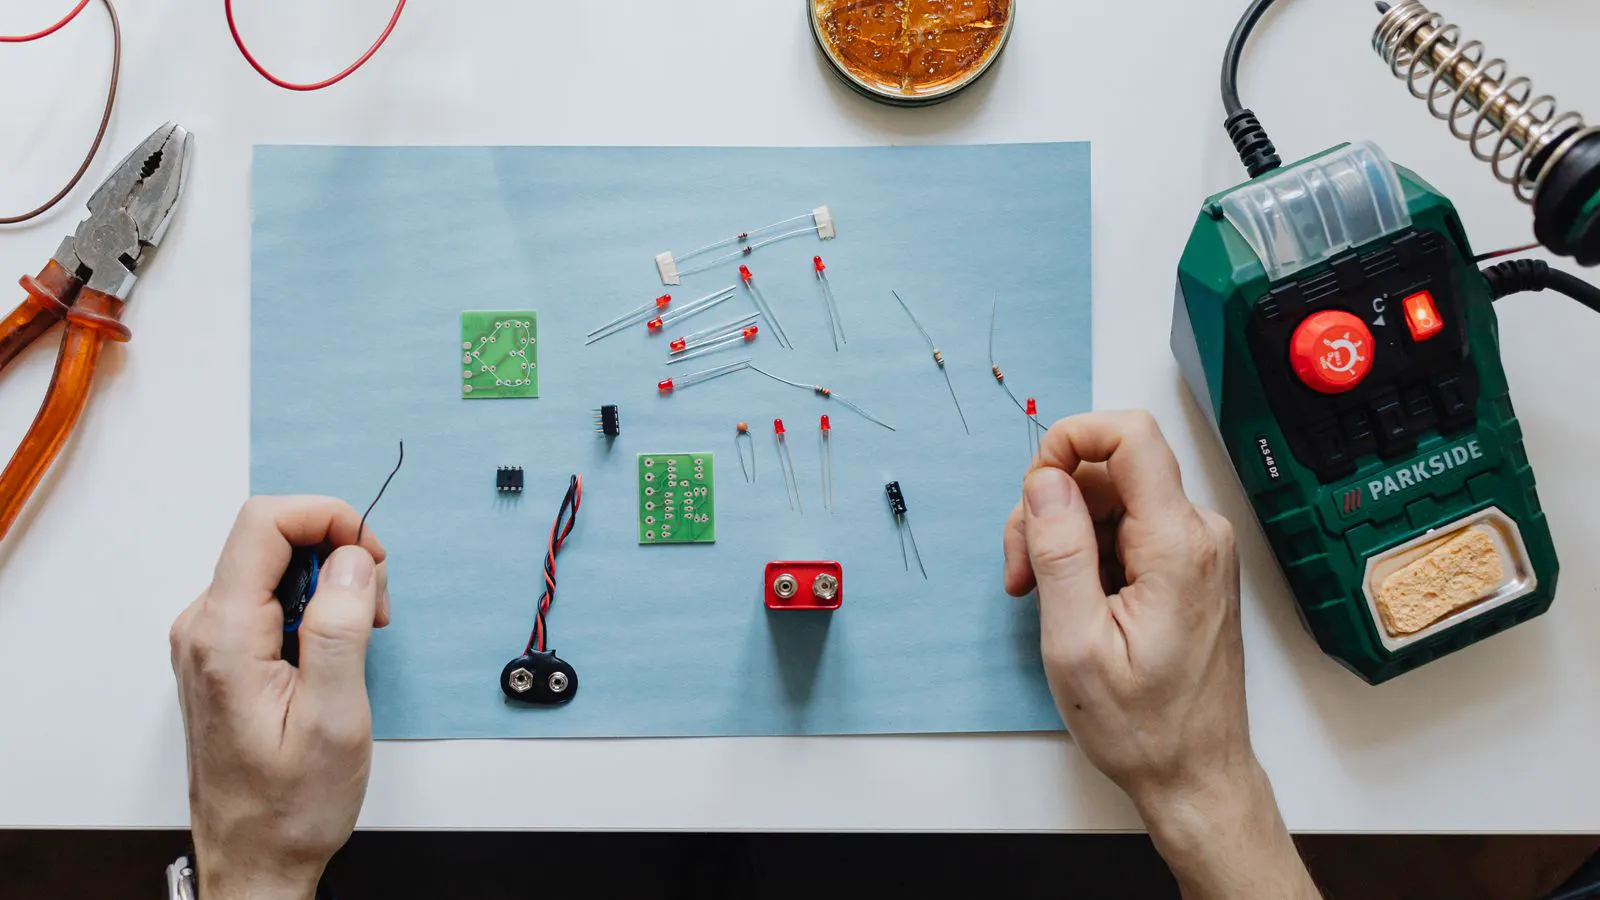
For larger cuts or exposed strands, soldering is more durable. Cut out the damaged section. Strip a small length of the conductor. Twist a new piece of copper wire of the same gauge into the end. Apply solder with a standard soldering iron. The solder creates a metallic bond and a smooth transition. Once cooled, wrap the joint with heat shrink tubing. This method restores mechanical strength and electrical continuity.
Replacement is the only safe option for severe damage. If the insulation is cracked over a long section, or if the conductor is corroded, do not try to patch it. Cut the wire back to the point where the insulation is intact. Use a proper connector or splice. In many installations, running a new cable is cleaner and less labor intensive than splicing multiple times. This is especially true in tight spaces where a bulky repair can cause further stress.
Temporary Measures and When to Avoid Them
Electrical tape is a common first response. It holds insulation in place and keeps moisture out for a short period. Do not use it as a permanent repair. The adhesive softens with heat and the vinyl layer degrades over time. If you must use tape, wrap it tightly and overlap each layer by at least half its width. Check the repair after a few weeks. If the tape lifts, replace it with a proper heat shrink or soldered splice.
Avoid using electrical tape on high voltage lines. The dielectric strength is not sufficient for mains power in many regions. For those circuits, use proper insulation sleeves or replace the wire. Never leave a repair as a long term solution. A temporary patch can hide a failing wire until it fails catastrophically.
Prevention and Long Term Maintenance
Prevent insulation damage by controlling the environment. Route wires away from heat sources. Maintain at least a few inches of clearance between the cable and any heating element. Use heat resistant insulation if the wire must run close to a hot surface. For outdoor or damp areas, choose a wire with a moisture resistant coating. Keep the insulation clean. Wipe away dust and debris regularly. Dirt traps moisture and accelerates degradation.
Inspect the wiring during routine maintenance. Check for signs of stress, such as wires pulled tight against a bracket or pinched by a door. Add protective conduit or grommets where wires pass through sharp edges. If the installation is older, plan for periodic replacement. Insulation does not last forever, even under ideal conditions. A scheduled inspection every few years helps catch damage before it becomes a safety risk.
When to Call a Professional
Some repairs are outside the scope of a basic maintenance task. If the wire is part of a high voltage system, a large motor circuit, or a safety critical control loop, consult a qualified electrician. These circuits carry high current or voltage. A poor repair can cause a fire or a shock hazard. A professional can assess the load, choose the correct wire gauge, and install a repair that meets local codes.
If you are unsure about the extent of the damage, stop and call for help. A small repair that looks simple can become a major problem if the insulation is compromised internally. The cost of a professional inspection is far less than the cost of a fire or an equipment failure. When in doubt, replace the section rather than repairing it.
Frequently asked questions
Can I repair copper wire insulation with electrical tape?
Yes, but only as a temporary measure. Electrical tape is not a permanent fix for high voltage or high current circuits. It should be replaced with heat shrink tubing or a soldered splice as soon as possible.
How do I know if the copper wire is damaged inside the insulation?
Use a multimeter to check continuity and resistance. A reading that changes or shows high resistance indicates internal damage. Also look for discoloration or soft spots on the insulation surface, which can signal moisture ingress or heat damage.
Is heat shrink tubing a permanent repair?
Heat shrink tubing is a permanent repair for low voltage, low current applications. It bonds to the conductor and provides a durable, moisture resistant coating. For high current or high voltage circuits, use a soldered splice or replace the wire.
What causes copper wire insulation to become brittle?
Heat exposure, chemical exposure, and age are the main causes. Repeated heating and cooling weakens the polymer matrix. Chemicals break down the coating, and age causes the material to harden and crack.
Should I replace the wire or repair it?
Replace the wire if the damage is extensive, the insulation is degraded over a long section, or the wire is part of a high voltage or high current circuit. Repair it if the damage is minor, such as a small cut or surface crack, and the wire is in good condition otherwise.