Troubleshooting Leaks in Copper Tube and Brass Pipe Joints
Most copper tube and brass pipe leaks trace to poor fitting, incorrect solvent, or mechanical stress. This guide lists common symptoms, likely causes, and field fixes, then offers prevention practices to keep joints sealed and service life long.
- Identify the joint type and failure point before ordering replacement parts.
- Use the correct solvent for the alloy and joint material.
- Control mechanical stress, vibration, and thermal movement to prevent fatigue.
- Document the repair and retest the system after pressure or thermal cycling.
- Prevent recurring leaks with correct wall thickness, proper support spacing, and routine inspection.
A copper tube joint that weeps under pressure is usually a fitting problem, not a material problem. The same goes for a brass pipe joint that fails only after a temperature change. The metal itself is rarely at fault. The connection is.
This guide walks through the most common leak symptoms in copper tube and brass pipe systems, the causes behind them, and the field fixes that work. It also covers prevention steps that keep joints sealed through cycles, pressure swings, and thermal movement.
What to check before you start
Start by locating the exact source of the leak. Many systems have multiple wet points, and the visible drip often comes from a joint upstream of the actual failure. Dry the area with a clean cloth, run the system at normal pressure, and watch for the first bead of moisture.
Check the joint type. A brazed copper tube joint, a flared brass pipe connection, and a threaded brass pipe fitting all fail in different ways. The repair differs for each. Do not assume a soldered joint and a flared joint respond to the same fix.
Confirm the system pressure and fluid. Water, steam, glycol, and refrigerant all behave differently at a joint. A small seep in a low-pressure water line may be acceptable short term. The same seep in a pressurized steam line is not.
Verify the support and alignment. A copper tube that bends slightly at a joint, or a brass pipe that shifts under vibration, will develop a leak even if the joint was made correctly. Look for movement, loose supports, and misalignment at the point of failure.
Common leak symptoms and field fixes
The table below covers the most frequent leak patterns in copper tube and brass pipe installations. Match the symptom to the cause, then apply the fix that fits the joint type.
| Symptom | Likely cause | What to do |
|---|---|---|
| Drip at a brazed copper tube joint after the system has been in service for weeks | Incomplete capillary wetting during brazing, or flux residue that corrodes the interface over time | Cut back the joint, clean both surfaces to bare metal, apply fresh flux, and rebraid with the correct filler alloy. |
| Weep at a flared brass pipe joint that increases with pressure | Flare seat is deformed, the sealant is compressed unevenly, or the thread is cross-threaded | Disassemble the joint, inspect the flare and the seat, reseat the flare, and reassemble with a new thread seal where the design allows. |
| Leak at a threaded brass pipe fitting that appears only after a temperature cycle | Thermal expansion pushes the threads apart, or the sealant hardens and cracks | Rebuild the fitting with a new sealant suitable for the service. Check that the fitting is not being over-tightened, which can crush the seal. |
| Drip at the end of a copper tube where it enters a valve or pump | The tube was not cut square, the insert is not seated, or the gland is not clamped evenly | Cut the tube square with a proper cutter, deburr the inside, reseat the insert, and torque the gland evenly in stages. |
| Intermittent leak at a copper tube joint that only appears when the pump runs | Vibration or pressure pulsing breaks the seal at the joint face | Add or tighten supports near the joint, check for loose flanges or unions, and confirm the joint is not under mechanical stress. |
| Seep along a long run of copper tube, not at a single joint | The tube is overstressed by a bent pipe, a misaligned flange, or an unsupported span that flexes | Correct the alignment, add supports at the correct spacing, and relieve the stress before retesting the joint. |
Brazed copper tube joints
Brazed copper tube joints are the most common connection in hot and cold water systems, heat exchangers, and small refrigerant lines. The failure usually starts at the joint face, not in the tube wall.
The most frequent mistake is cleaning the joint after the flux has dried. Once flux residue sits on the metal, it blocks capillary flow and leaves a weak spot. Clean the tube end and the inside of the fitting with a stainless wire brush or a non-abrasive pad, then apply flux only where it will melt into the joint.
Use the correct filler alloy. For low-temperature plumbing, a low-melting copper-phosphorus or copper-silver alloy is typical. For higher-temperature or high-stress service, a higher-melting alloy is used. The choice depends on the service temperature and the required strength, not on convenience.
Heat the joint evenly. If one side is hot and the other is cold, the filler does not flow into the capillary space. The joint looks sealed but has a thin line of unfilled metal. A small weep under pressure is the usual result.
Flux residue must be removed after brazing. Flush the joint with clean water or, where the design allows, a neutralizer. Residue left in place can corrode the interface and open a path for moisture.
Flared and threaded brass pipe joints
Brass pipe joints often use flared fittings, compression fittings, or threaded connections. Each has a different failure mode.
A flared joint relies on a conical seal. If the flare is too shallow, too thick, or too thin, the seat will not hold pressure. A deformed flare from over-tightening is a common cause of leaks. Rebuild the flare with a proper flaring tool, not by bending it with a vise or a hammer.
Threaded brass pipe fittings use thread sealant or tape. The seal must be continuous and unbroken. A single scratch in the thread or a gap in the tape creates a leak path. Rebuild the joint rather than re-tightening, because re-tightening compresses the old sealant and does not fix the gap.
Compression fittings use a gland and a ferrule. The ferrule must be the correct size for the pipe and the fitting must be torqued in stages. If the ferrule is crushed unevenly, the seal fails at one side of the pipe. Replace the ferrule and re-torque.
Mechanical stress and vibration
A joint that is made perfectly can still leak if the pipe moves. Copper is relatively stiff, but it is not rigid. A brass pipe is softer and more prone to deformation under sustained load.
The most common stress points are at elbows, valves, flanges, and pump connections. A copper tube that is bent too sharply at a fitting creates a thin section that can crack. A brass pipe that is pushed sideways at a threaded fitting can crack the thread.
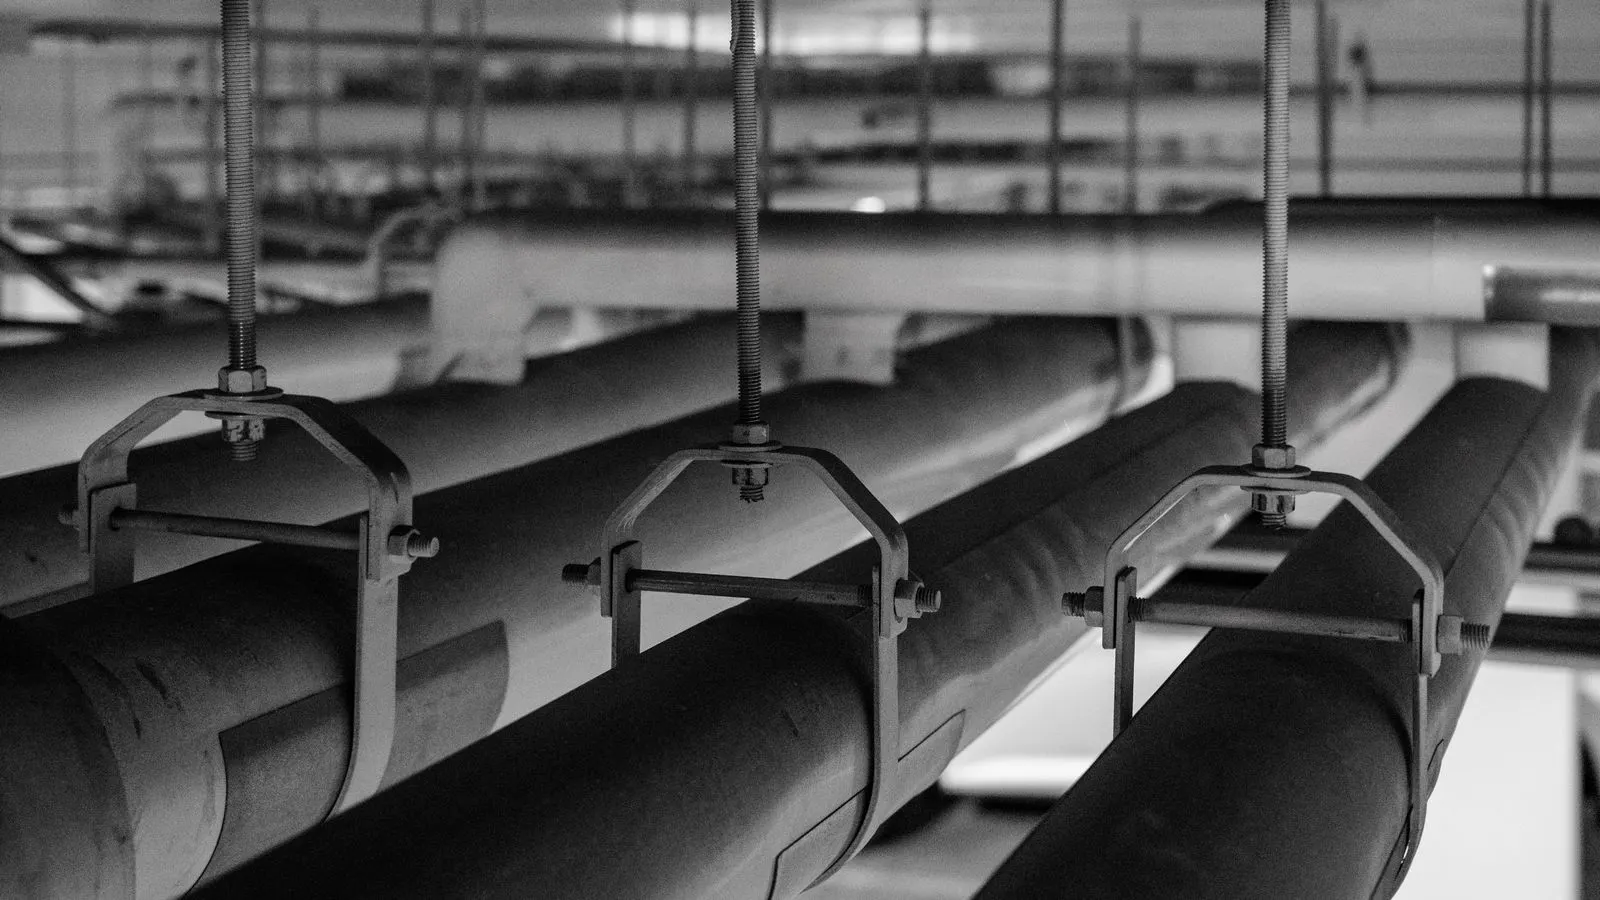
Support spacing matters. A long unsupported span of copper tube will sag under its own weight and under the weight of any fluid in the line. The sag puts cyclic stress on the joints. Add supports at the spacing recommended for the pipe size and the service.
Vibration from pumps, compressors, and fans transmits through the pipe. A joint that is not isolated from vibration will work loose over time. Add vibration isolation at the pump or compressor, and check that the pipe is not clamped directly to a vibrating structure.
Thermal movement and expansion
Copper and brass expand and contract with temperature. If the pipe is fixed at both ends with no allowance for movement, thermal cycling will push the joints apart or compress them unevenly.
A joint that leaks only in summer or only in winter is often a thermal movement problem. The pipe expands in one direction and contracts in the other. The joint that was tight in one direction becomes loose in the other.
Provide expansion loops, flexible connections, or sliding supports where the design allows. If the joint is in a hot spot, use a joint type that can tolerate the temperature range. A flared brass joint in a high-temperature service may not hold as well as a brazed copper joint.
Check the pipe for kinks. A kinked copper tube does not straighten under pressure. It thins at the bend and can crack. Cut out the kink and replace the section.
When to replace the joint and when to repair it
Not every leak needs a full joint rebuild. A small weep at a flared joint can sometimes be fixed by rebuilding the flare and re-tightening the nut to the correct torque. A small weep at a threaded joint can sometimes be fixed by rebuilding the thread with a new sealant.
A weep at a brazed joint is usually not a repairable problem. The filler has not filled the capillary space, or the residue has corroded the interface. The only reliable fix is to cut back the joint and re-braid it.
A crack in the tube wall is not a joint problem. The tube must be replaced. A crack in a brass pipe body is the same. Replace the section and rejoin it with the correct fitting.
When in doubt, replace the joint rather than re-seal it. A joint that has leaked once has already been weakened. The second leak is more likely to be larger and more expensive.
Prevention tips
Prevent leaks by controlling the three variables that most often cause joint failure: fitting quality, mechanical stress, and thermal movement.
- Cut every tube square and deburr the inside. A burr at the tube end creates a sharp edge that can cut a flare or a seal. A square cut ensures the fitting seats evenly.
- Clean every joint surface to bare metal before applying flux or sealant. Oil, paint, and old flux residue block the seal.
- Use the correct fitting for the service. Do not use a low-temperature filler in a high-temperature joint. Do not use a flared joint where a brazed joint is required by the design.
- Support the pipe at the correct spacing. A long unsupported span will sag and put cyclic stress on the joints.
- Isolate vibrating equipment from the pipe. A pump that vibrates will work loose any joint that is not isolated.
- Allow for thermal movement. Add expansion loops or flexible connections where the pipe runs through a temperature change.
- Inspect joints after the first pressure cycle and after the first thermal cycle. A joint that holds at room temperature may leak after it has been heated and cooled.
- Document the repair. Note the joint type, the filler or sealant used, and the date. This helps the next technician know what was done and what to watch for.
A well-made joint holds for the life of the system. A poorly made joint fails at the first pressure swing. The difference is in the preparation, the fitting, and the support.
Frequently asked questions
Can a small drip at a copper tube joint be ignored?
No. A small drip is a sign that the joint is not sealed. It will usually grow with pressure and temperature cycles.
What is the most common cause of a leak at a brazed copper tube joint?
Incomplete capillary wetting during brazing, or flux residue that corrodes the interface after the joint is made.
Can a flared brass pipe joint be re-tightened to stop a leak?
Sometimes, if the flare seat is intact and the seal is not damaged. If the flare is deformed or the seat is scored, the joint must be rebuilt.
Does thermal movement cause leaks in copper tube and brass pipe joints?
Yes. If the pipe is fixed at both ends with no allowance for expansion, thermal cycling will push the joints apart or compress them unevenly.
Should I re-use a ferrule after a compression fitting leaks?
No. A ferrule that has been crushed to seal a joint is not reliable for a second seal. Replace it.