How to Perform Simple Visual Checks on Brass Pipe Surfaces
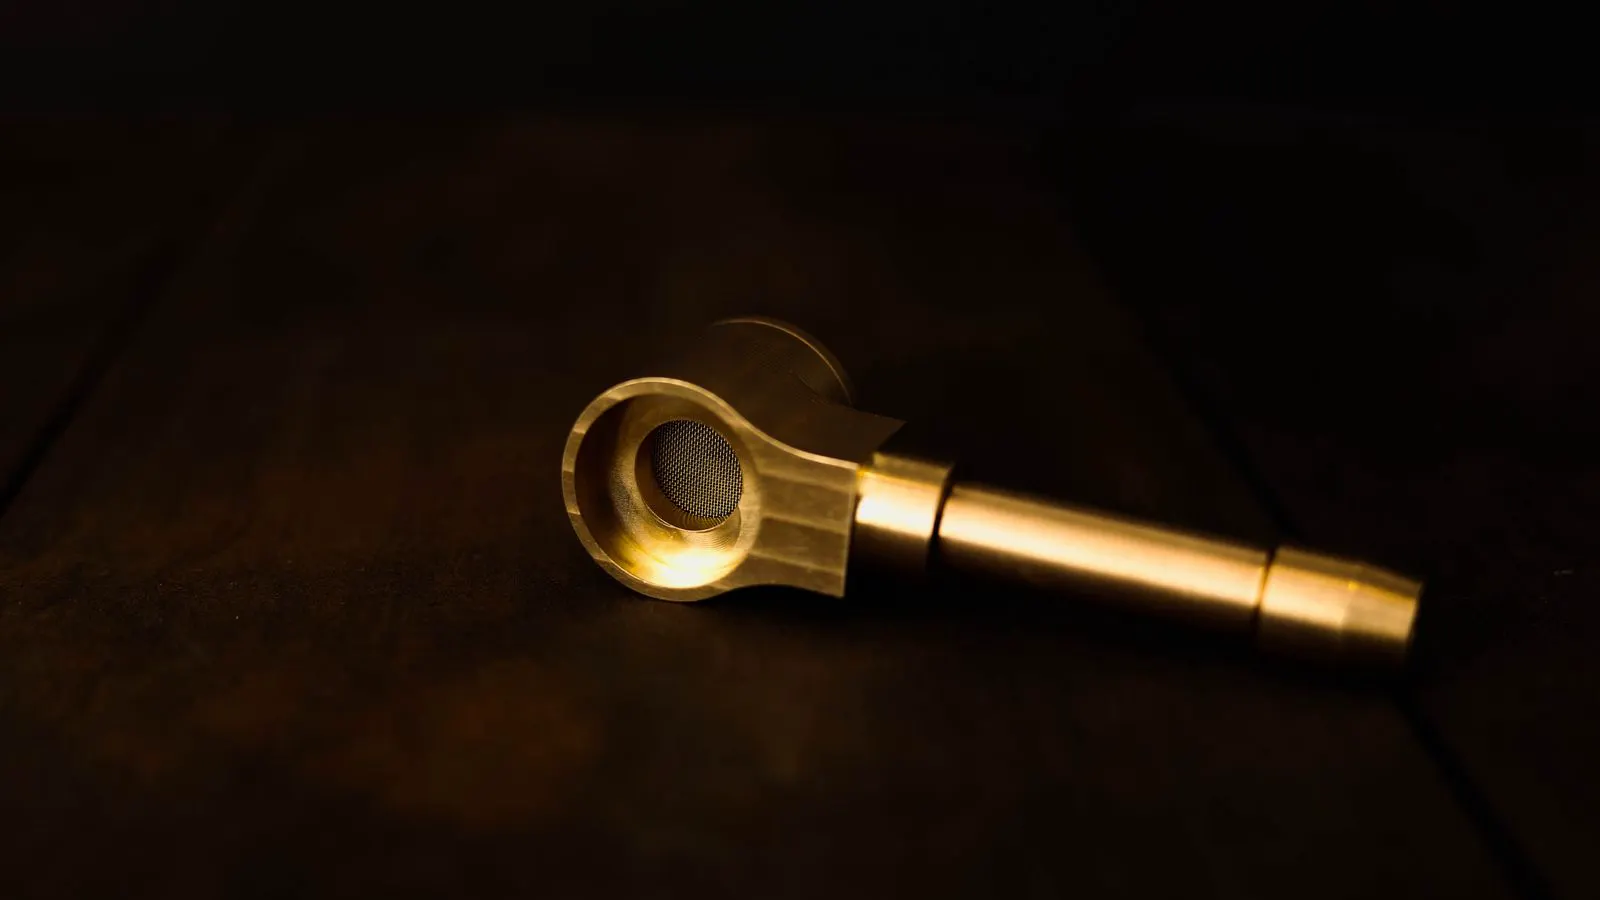
A practical brass pipe inspection involves checking for discoloration, pits, and scratches under proper lighting. This visual quality control process helps buyers reject defective products and verify surface integrity before final acceptance.
- Proper lighting and a stable viewing angle are prerequisites for an accurate visual quality control assessment.
- Key surface defects include pitting, oxidation, scratches, and porosity that affect the pipe's structural integrity.
- Documenting findings with photos and measurements helps create a clear record for supplier disputes.
- A final verification step involving a second inspector or a reference sample prevents single-point errors.
Why Visual Checks Matter for Brass Pipes
Brass pipe inspection often starts with the eyes before any instrument is applied. A visual quality control check is the first line of defense against receiving damaged or poorly finished products. It is a low-cost method that catches issues like deep scratches, weld spatter, and uneven surface oxidation. For buyers, this step protects the asset value of the incoming material. If a pipe is going to be used in structural or hydraulic applications, surface integrity matters. A visible flaw can indicate deeper manufacturing problems. This guide covers the practical steps to perform this check effectively.
Prerequisites for a Reliable Brass Pipe Inspection
You need the right setup before you begin the visual quality control process. Poor lighting is the most common reason for missed defects. Use a stable work surface with even, diffuse lighting. A bright, neutral white light source is best. Avoid direct sunlight, which creates glare and shadows. You also need a magnification tool, such as a jeweler’s loupe or a digital inspection camera, for small surface defects.
Have a reference sample of acceptable brass pipe surface finish on hand. This helps you distinguish between normal machining marks and actual defects. Keep a notebook or a tablet ready for notes. A ruler or tape measure is useful for recording the size and location of any issues. Ensure your hands are clean and dry to avoid leaving fingerprints on the sample. This prevents confusion between new marks and existing ones.
Step 1: Clean the Pipe Surface
Dust and loose particles can hide or mimic real defects. Wipe the brass pipe with a clean, dry, lint-free cloth. Do not use abrasive materials. A soft cloth is sufficient to remove handling dirt. This step is critical because a layer of grease or dust can obscure small pits or scratches. It also ensures that any marks you find are actually on the pipe, not just on the surface contamination.
If the pipe has a protective wax or oil coating, be aware of it. Some suppliers apply a light protective coating. Do not strip this off unless you know it is part of the standard finish. If in doubt, ask the supplier. Cleaning too aggressively can remove the original surface finish and create new marks that you will then incorrectly flag as defects.
Step 2: Check for Pitting and Porosity
Use the magnification tool to scan the surface. Look for small, irregular depressions or holes. Pitting often appears as a cluster of tiny craters. Porosity looks similar but may be more isolated. These are common in cast brass products. In extruded or drawn pipes, porosity is less common but still possible.
Focus on the areas near the ends of the pipe. These zones often experience higher stress during cutting or forming. A single small pit might not be a major concern, but multiple pits in a concentrated area suggest a material or casting defect. Record the number, size, and location of any pitting found. If the pitting is deep enough to catch a fingernail, it is a significant defect.
Step 3: Identify Scratches and Gouges
Run your fingers lightly along the pipe surface with the magnifier. Look for linear marks that are deep enough to feel. Surface scratches are often cosmetic and may be acceptable if they are shallow. However, deep gouges or scratches that penetrate the pipe wall are a red flag. They can weaken the pipe and lead to early failure in pressure applications.
Pay attention to the direction of the scratches. Longitudinal scratches may indicate a problem with the extrusion or drawing die. Crosswise scratches can be caused by handling damage or improper storage. Document the length and depth of any significant marks. A scratch that is longer than the pipe diameter or deep enough to feel with a fingernail should be flagged.
Step 4: Assess Color and Oxidation
Brass has a characteristic yellow-gold color. Variation in color can indicate uneven heating, chemical exposure, or inconsistent alloy composition. Look for dark spots, which may be oxidation or heat discoloration. Lighter, silvery patches can indicate zinc bloom or other chemical residues.
Compare the color of the sample pipe to your reference standard. If the color is uneven, it may point to a problem in the finishing process. For example, a pipe that was overheated during a heat treatment step may show darker bands. This is not always a defect, but it is a deviation from the expected standard. Note the extent of the color variation. If the discoloration is limited to a small area, it may be acceptable. If it covers a large portion of the pipe, it warrants further inspection.
Step 5: Inspect the Ends and Fittings
The ends of the pipe are often the most vulnerable areas. Check for burrs, nicks, and uneven cuts. A clean, square cut is a sign of good machining. A jagged or uneven end suggests poor cutting practices. This can make the pipe difficult to join to other components.
If the pipe has threaded ends, inspect the threads carefully. Use a thread gauge if you have one. Look for missing threads, cross-threading, or damage to the thread profile. Threads are a critical functional part of the pipe. Damage here can lead to leaks or failure to tighten. A visual check of the threads is a quick way to catch obvious issues before you attempt to install the pipe.
Step 6: Look for Weld Spatter or Casting Flash
If the brass pipe is welded or cast, check for weld spatter. This is small droplets of metal that solidify on the surface near a weld. It can be rough and uneven. Remove any loose spatter with a small brush. If it is bonded to the surface, it may need to be ground down. Excessive spatter indicates a poorly controlled welding process.
For cast pipes, look for casting flash. This is excess metal that oozes out of the mold during casting. It usually appears as a thin, raised edge along the parting line. It is not structurally significant, but it is a sign of a less precise casting process. It should be removed before installation. Document any significant flash or spatter found.
Step 7: Verify Against Specifications
Compare your findings to the acceptance criteria defined in your purchase order or specification. Not all visual defects are automatically rejected. Minor scratches or small pits may be acceptable within a defined tolerance. The specification should state the maximum allowed size, number, and location of defects.
If the specification is unclear, you must make a judgment call. Use your experience and the reference sample. When in doubt, reject the item. It is better to send back a slightly over-qualified pipe than to accept one with a hidden defect. Document your decision and the reason for it. This creates a paper trail that can be used in negotiations with the supplier.
Common Mistakes in Visual Quality Control
Lighting is the biggest enemy of a good inspection. Inspecting in dim or directional light leads to missed defects. Another common mistake is not using magnification. Many small pits and scratches are invisible to the naked eye. Skipping the cleaning step is also a frequent error. Dust and grease create false positives.
Rushing the inspection is another major issue. A thorough check takes time. It requires a systematic approach. Do not just glance at the pipe. Scan it slowly in multiple directions. Finally, failing to document findings is a critical error. Without a record, it is hard to prove a defect exists or to negotiate a credit with the supplier.
Final Verification Step
Before finalizing your acceptance decision, perform a final verification. Have a second person review the pipe and your notes. A fresh set of eyes can catch things you missed. Compare your findings to the reference sample one last time. Ensure that all defects are documented with photos, if possible.
This step is not just a formality. It provides an objective check on your subjective assessment. If the second inspector agrees with your findings, your decision is solid. If they disagree, discuss the differences and reach a consensus. This collaborative approach reduces the risk of a single-point failure in your quality control process. It also builds a stronger case if you need to dispute an acceptance.
| Defect Type | Typical Appearance | Potential Cause | Acceptance Guideline |
|---|---|---|---|
| Pitting | Small, irregular depressions | Casting porosity, corrosion | Reject if deeper than 0.5mm or clustered |
| Scratches | Linear marks on surface | Handling, abrasion | Accept if shallow and few; reject if deep |
| Oxidation | Dark or discolored spots | Heat, chemical exposure | Accept if minor; reject if extensive |
| Weld Spatter | Small metal droplets | Welding process | Remove; reject if excessive or rough |
| Burrs | Sharp edges at ends | Cutting | Remove; reject if deep or rough |
Frequently asked questions
Can I use a smartphone camera for a brass pipe inspection?
Yes, a smartphone camera with a macro mode is a useful tool for documenting small defects. It helps you record the size and location of pits or scratches for your quality check records.
What is the difference between pitting and porosity in brass?
Pitting is usually a cluster of small, irregular depressions caused by corrosion or casting issues. Porosity refers to isolated small holes or voids within the metal. Both are surface defects that require attention.
How do I determine if a scratch is deep enough to reject the pipe?
Use a fingernail test. If you can catch your fingernail in the scratch and feel a distinct groove, it is likely deep. If it is just a faint mark that your fingernail cannot catch, it is probably superficial and may be acceptable.
Do I need special training to perform a visual quality control check?
No formal training is required, but experience helps. You need to know what a good brass surface looks like and be able to identify common defects. Using a reference sample and following a consistent procedure can improve your accuracy.
How long should a visual inspection of a single brass pipe take?
It depends on the size and complexity of the pipe. A thorough check of a standard length pipe should take at least 5 to 10 minutes. This includes cleaning, scanning with a magnifier, and documenting any findings.